Many years ago, I inherited an old piece of yellow plastic from a company at which I used to work. I had intended to turn it into a touch-screen kiosk for controlling, and reporting, on my home automation system. Alas, that never happened. So, instead, I turned it into a games console... which is much more productive!
For software I'm running Puppy Arcade. It was mostly a plug-n-play distro. I'm booting from USB, so there's a trick online (Google it!) to let it install itself (i.e. a live distro) back to the same memory stick for more a permanent install. This is necessary so that keyboard/joystick configurations don't get lost.
Originally I tried using DOS! Why? For the craic!
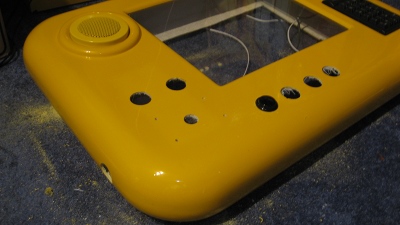 |
Cutting the holes was fairly straight forward. Mark the centre of the holes with sharpie, and use the electric drill and hole set. | ||||
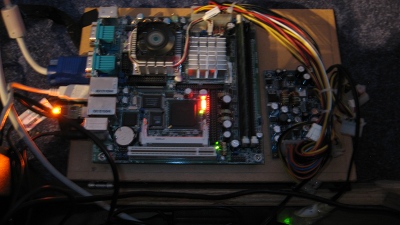
The gaming hardware is a basic Mini ITX board with four USBs (all essential), and a sensible BIOS allowing it:
|  | ||||
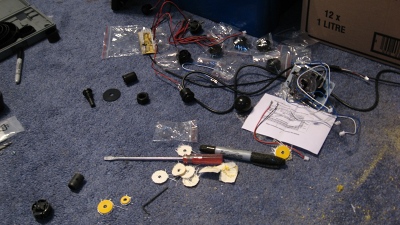 |
The buttons come in two sizes. 2 small, and 8 large. I hadn't realized, and drilled all the holes the same size. Stupid me! Connecting the joystick (and buttons) to the ITX is simple, since there's a circuit board which converts their signals to USB. (And Puppy Arcade has a nice joystick configuration tool to map each button to a key.) | 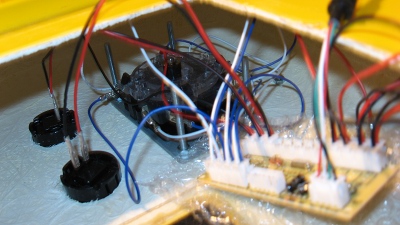 | |||
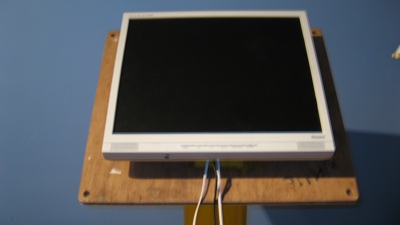 |
The display is just an LCD screen, screen onto a wooden base, and screwed to the main unit. | ||||
| The ITX is in the base, as is the audio amplifier. The stem carries the cables between display and speakers, to the units in the base. So, just put it all together, and voila!. | 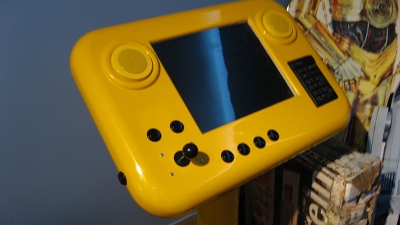 | ||||
 Marquis de Geek